Hello Guys, it’s time for my first “BROG”, so bear with me.
As some of you may or may not know, I’ve done quite a bit of Machinder restoration. I’ve also been playing with molding and all that for quite some time now as well. Since then I’ve always had in mind that I need to do some replica and push this a bit further.
2 Years ago I heard about a new technique for creating industrial prototypes (Stereolythography), and that this technique was usable for doing characters affordably. The technique consists of UV lazers tracing hundreds of layers in a liquid epoxy resin and the liquid solidifies where the lazers are tracing. Everything is computer generated and it uses 3d files. I know I don’t have Tom’s skills for sculping but I’m really familiar with 3d modeling and it seemed like something really
interesting to try one day.
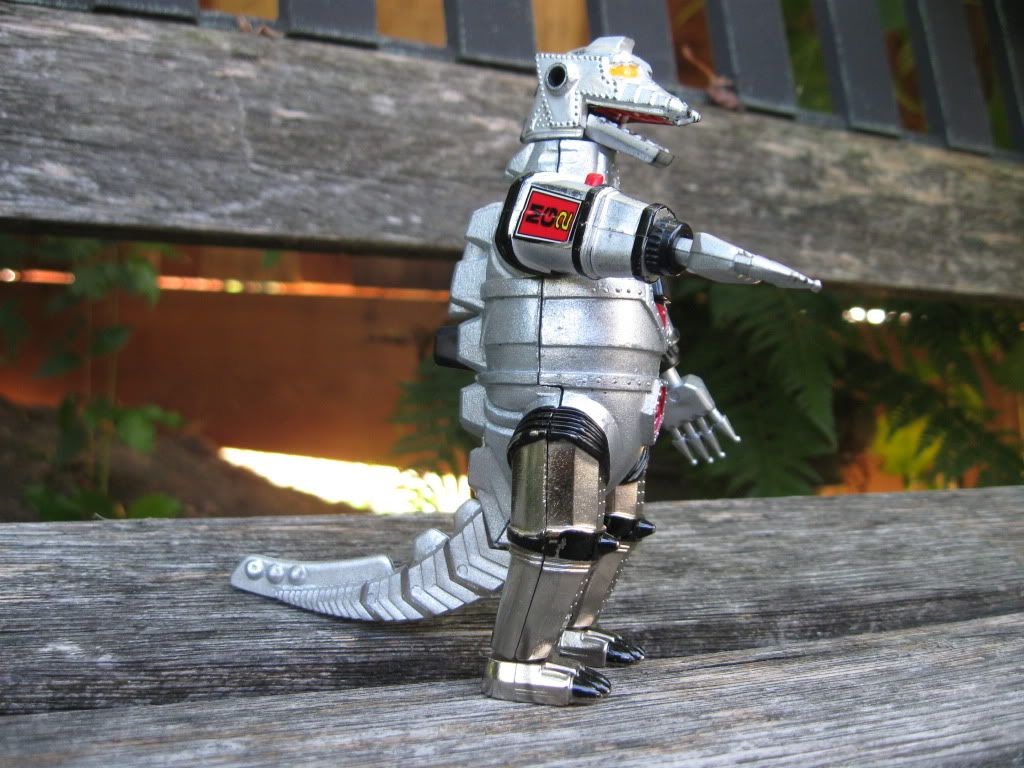
Out of all the Jumbo Machinder Vilains, there are three that I’m just a big fan. Doublas M2, Garada K7 and Rokuron Q9. I was lucky enough to be able to grab the first one from a YJ auction. The second one I had to fight a bit to get. The Garada is one of Tom’s replicas and I’m realist when it comes to the fact that I’ll probably never own a real one, which is the case also for the Q9. You all know that this one is rare but it’s also very damn expensive. I had the opportunity to hold a real one in my hands not so long ago and from that point on I decided that I needed to make a replica myself.


The first step was the 3D model. With the help of an amazing 3d modeler, I was able to have a 3D file looking really good. I cleaned it up and adjusted it to match the real thing as much as possible.
I then searched to find a good company to build it in Stereolythography. Budgets where really high, like almost twice my budget. Then I came accross a Belgium Company called Materialise who turned out to be the European leader in this field. I received very good feedback from them, and they where ready to drop the price a lot to help me with building this project. They were really amazing and helpful.


The second step was the casting of the replica. The result and material where perfect.
Unfortunately, I wasn’t able to go for the full finish look (cash is not falling from the sky at the moment..), so I had to do all the cleaning of the pieces and sanding to make everything smooth and perfect looking.


I received all the casted pieces a week before I was going on holiday, so I took them all with me to spend my holidays next to the swimming pool,under an umbrella, with my sand paper, cleaning a part each day. All the little rivets needed to be done after as it would have made the 3D file very heavy and it was easier to do them
after. Thanks to Dave, Tom and a lot of pictures from theirs, that became easy to do.
So, after a week under the sun, everything was clean and all the rivets where done.


Now, the third step was the painting. This step was really difficult as it’s almost impossible to know what’s the right color of each part based on pictures. I’ve collected a lot of pictures of several different specimens, and they all look different, depending on your camera setting and lights conditions, sometimes the heads look blue/green, sometimes
blue. So after collecting more pictures and with the help of Dave who took some extra pics for me, I had a better idea what color it should be. I decided to do it with spray paint, but here also, it’s impossible to know exactly what color will come out of the spray, internet references are not the same color as what’s on the spray itself and the color that comes out is always different. So , I did some quick tests and it turned out that most of them where ok. Ready for painting! This toke me more time than I was expecting. But finally with a lot of patience, masking tape, and good weather conditions, the paint job was finish.
One piece was missing and I decided that I will build it by hand, the connection between the two necks. So after assembling all the pieces together, I built this little piece like the little cherry you put on top of the cake.


At the end I’m really happy with the result and the experience was fascinating. It really gave me tons of ideas for the future. The company who did the casting have other techniques to duplicate a model after with a run like 25 pieces. I’ve ask for a quote to do like 25 Rokuron and it seems that it will cost something like 850 Euros for an
unpainted specimen and if I do 25 of them, less is of course more expensive and you have to add the time and material for the painting and assembly.
There’s also the copyright issue. For one single piece for personnal use, there’s no problem, but if I start selling copies I guess there could be an issue.. So I was thinking that maybe I can design my own Machinder and Vilains in the pure style of the old guys we all love. I can maybe get the price to drop down because the design will be more simple . But, it
will turn around 850 Euros for a finished specimen of a personnal desing. What to you guys think of this? Are you going to be interested in sometthing like this? At that price??
Alas, here is the Rokuron Q9 with my other Jumbo Machinders.


Here’s a credit list of all the people who helped me in creating this replica. I want to thank them a lot:
Nekrodave, Tom Franck and Erik Sjoen for their help and pictures.
Kazunori Saito for letting me play with his Q9.
Vincent Boutry for the 3D modeling.
Materialze for the sculpt.
Erik Sjoen for helping me put this Brog together.
And my girlfriend for her patience and understanding.
And thanks to all of you for your motivation even if I don’t get the time to contribute that often.
Cheers from Belgium!
Mike
PS: Wow that was long.. Sounds like I’ve won the NY Marathon or something like that hahahahaha…..yeah but I’m so happy that it’s finally finished.


