
An Eye For Detail
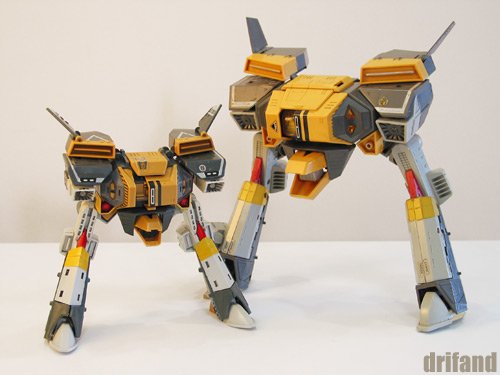
Among my all-time favorites is the Takatoku Toys 1/40 scale Gerwalk Nikick. Perfect transformation, great detailing, awe-inspiring industrial design and gorgeous graphics and packaging… I’ve had one since the mid-eighties and after years of hard play, it’s still in one piece! The smaller 1/60 scale toys also featured beautiful detailing, although several, like the pair of M-Lover flyers are notoriously fragile. Last month, Nikick Jr. finally joined the collection. But first, I had to do some needed modifications before it started to fully resemble its bigger brother.
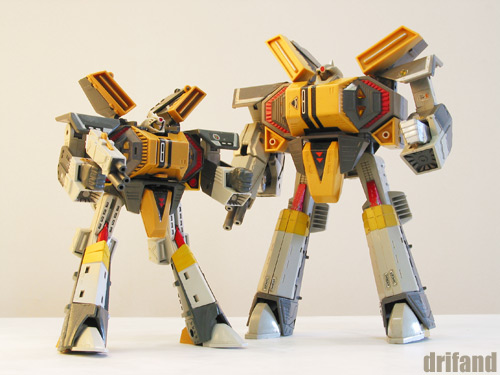
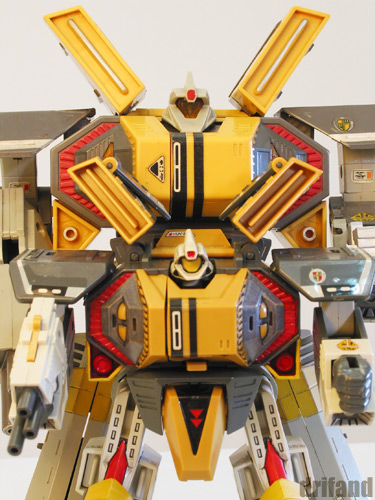
When you’ve owned a toy with such a distinctive design for over a decade, minor disparities in a smaller version may at first escape you. Aside from the need to remove the hands between the Gerwalk and Battle Form, the proportions are essentially the same. But after a couple of hours, it finally struck me that the colors looked, well… wrong. Check out this pristine shot from the Takatoku: Kanzen Henkei Datafiles:
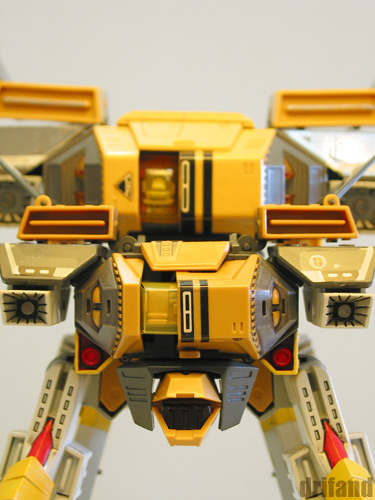
1. The hexagonal areas on the chest covers should be in dark gray.
2. Housings for the torso lasers are not in yellow.
3. The narrow ‘knee caps’ are not painted red.
4. The chevroned area on the light gray shins are supposed to be in yellow.
Minor points perhaps, but to me, the 1/60 toy looked positively naked without the correctly painted areas. This was quickly fixed with a couple of Gundam Markers, so now Nikick Jr. and Snr. definitely looked like closer relations than before. Up close in Battle Form, the biggest difference is the yellow tinted lense on the larger toy versus the painted dot on the smaller. I’ve also inked some lines to gain better definition of the details on Nikick Jr.
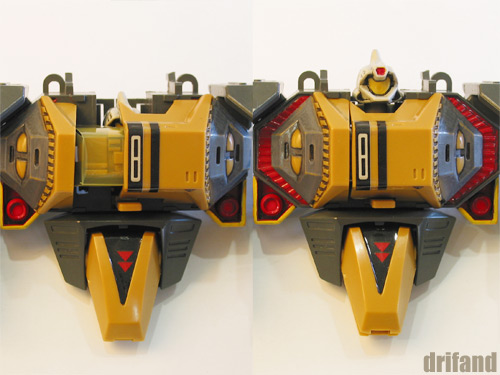
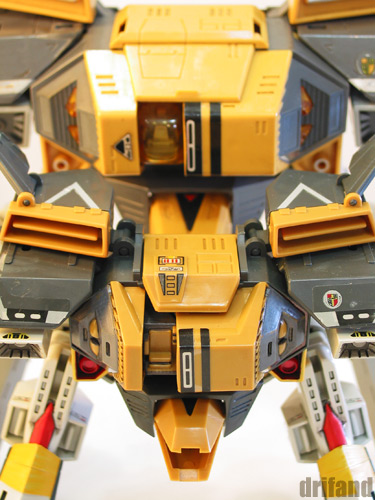
Moving on to Gerwalk, things were still looking pretty good. The smaller toy benefits from simpler engineering; the single axis of rotation for its hip joint is far more robust than the double spring loaded pin-locking affair on the 1/40 toy. However the most glaring fault soon emerges. Slip open the chest covers on the 1/60 and voila! The cockpit has no canopy! I mean, no kidding, what was Takatoku thinking? Flying over the battle zone at over 500 mph and you want to feel the wind in your hair?! I should think not.
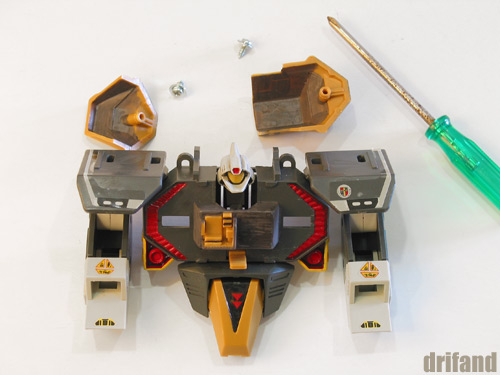
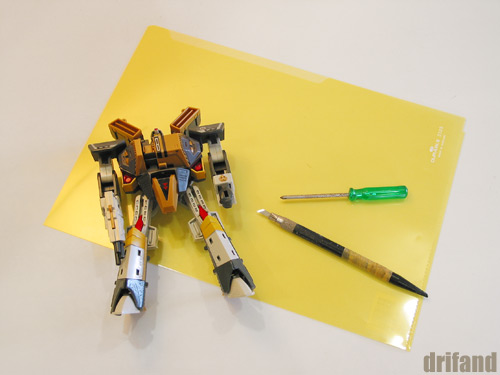
So after some thinking, I decided to make a canopy for Nikick Jr. A short trip to a bookstore’s stationery department soon yielded a yellow tinted plastic clear folder. It had the right color and it was mostly see-through. Good enough for me. Taking the toy apart is easy – just a matter of removing two cross-head screws in the back. The inside reveals two more shiny screws securing the chest covers.
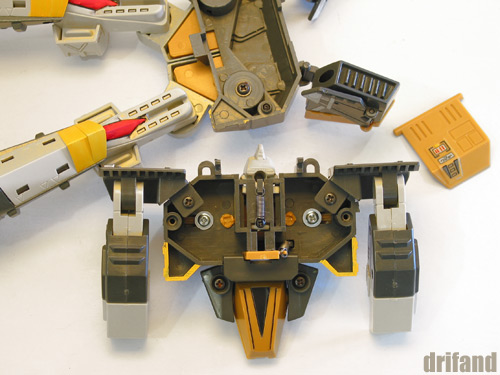
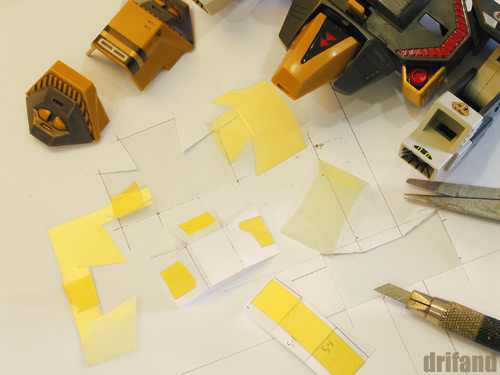
Once the chest covers are separated, I took some measurements for the canopy. For better visual contrast, I also painted the cockpit block in dark gray, leaving only the pilot’s seat and surrounding panels in the original bright yellow. The inner surfaces of the chest covers were also done up in gray.
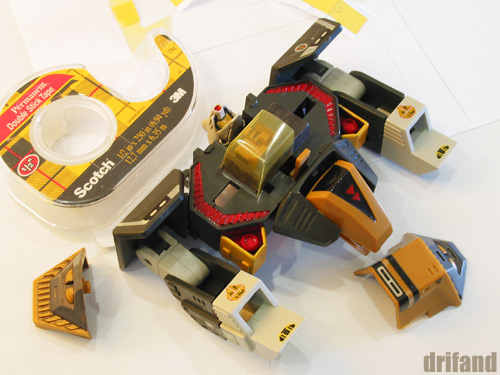
After a couple of tries, I found an acceptable plan form for the canopy. I taped the paper shape to the clear folder and cut out the piece. The new canopy was then attached onto the cockpit with 3M Double Stick Tape. The chest covers were then re-attached to check for proper fit. It was important to ensure the canopy material didn’t obstruct the head from retracting.
So there you have it… No need to give Nikick Jr. the queer eye anymore! And the pilot won’t have to suffer from wind chill either. My 1/60 scale Gerwalk Nikick is finally as it should be:

